


Thinking about launching your own flooring brand, but don’t know where to start? With SPC and LVT flooring currently taking the world by storm as the ultimate alternative to expensive hardwood, the opportunity for wholesalers and start-ups has never been bigger. The best part? You don’t need to own a million-dollar factory. You just need a solid OEM flooring partner who understands the journey from raw resin to a finished plank—ensuring your profits and your brand’s reputation are protected from day one.
At VN Ecofloor, we’ve spent nearly a decade perfecting the OEM SPC and LVT manufacturing process. Here is a deep dive into how a world-class factory transforms raw materials into the high-performance flooring your customers demand.
OEM Flooring Process Explained
Phase 1: Forming the Core (100% Virgin Resin)
Whether it’s LVT or SPC, it starts as a mixture of limestone powder and resin. However, as a business owner, you need to know the difference between “Virgin” and “Recycled.”
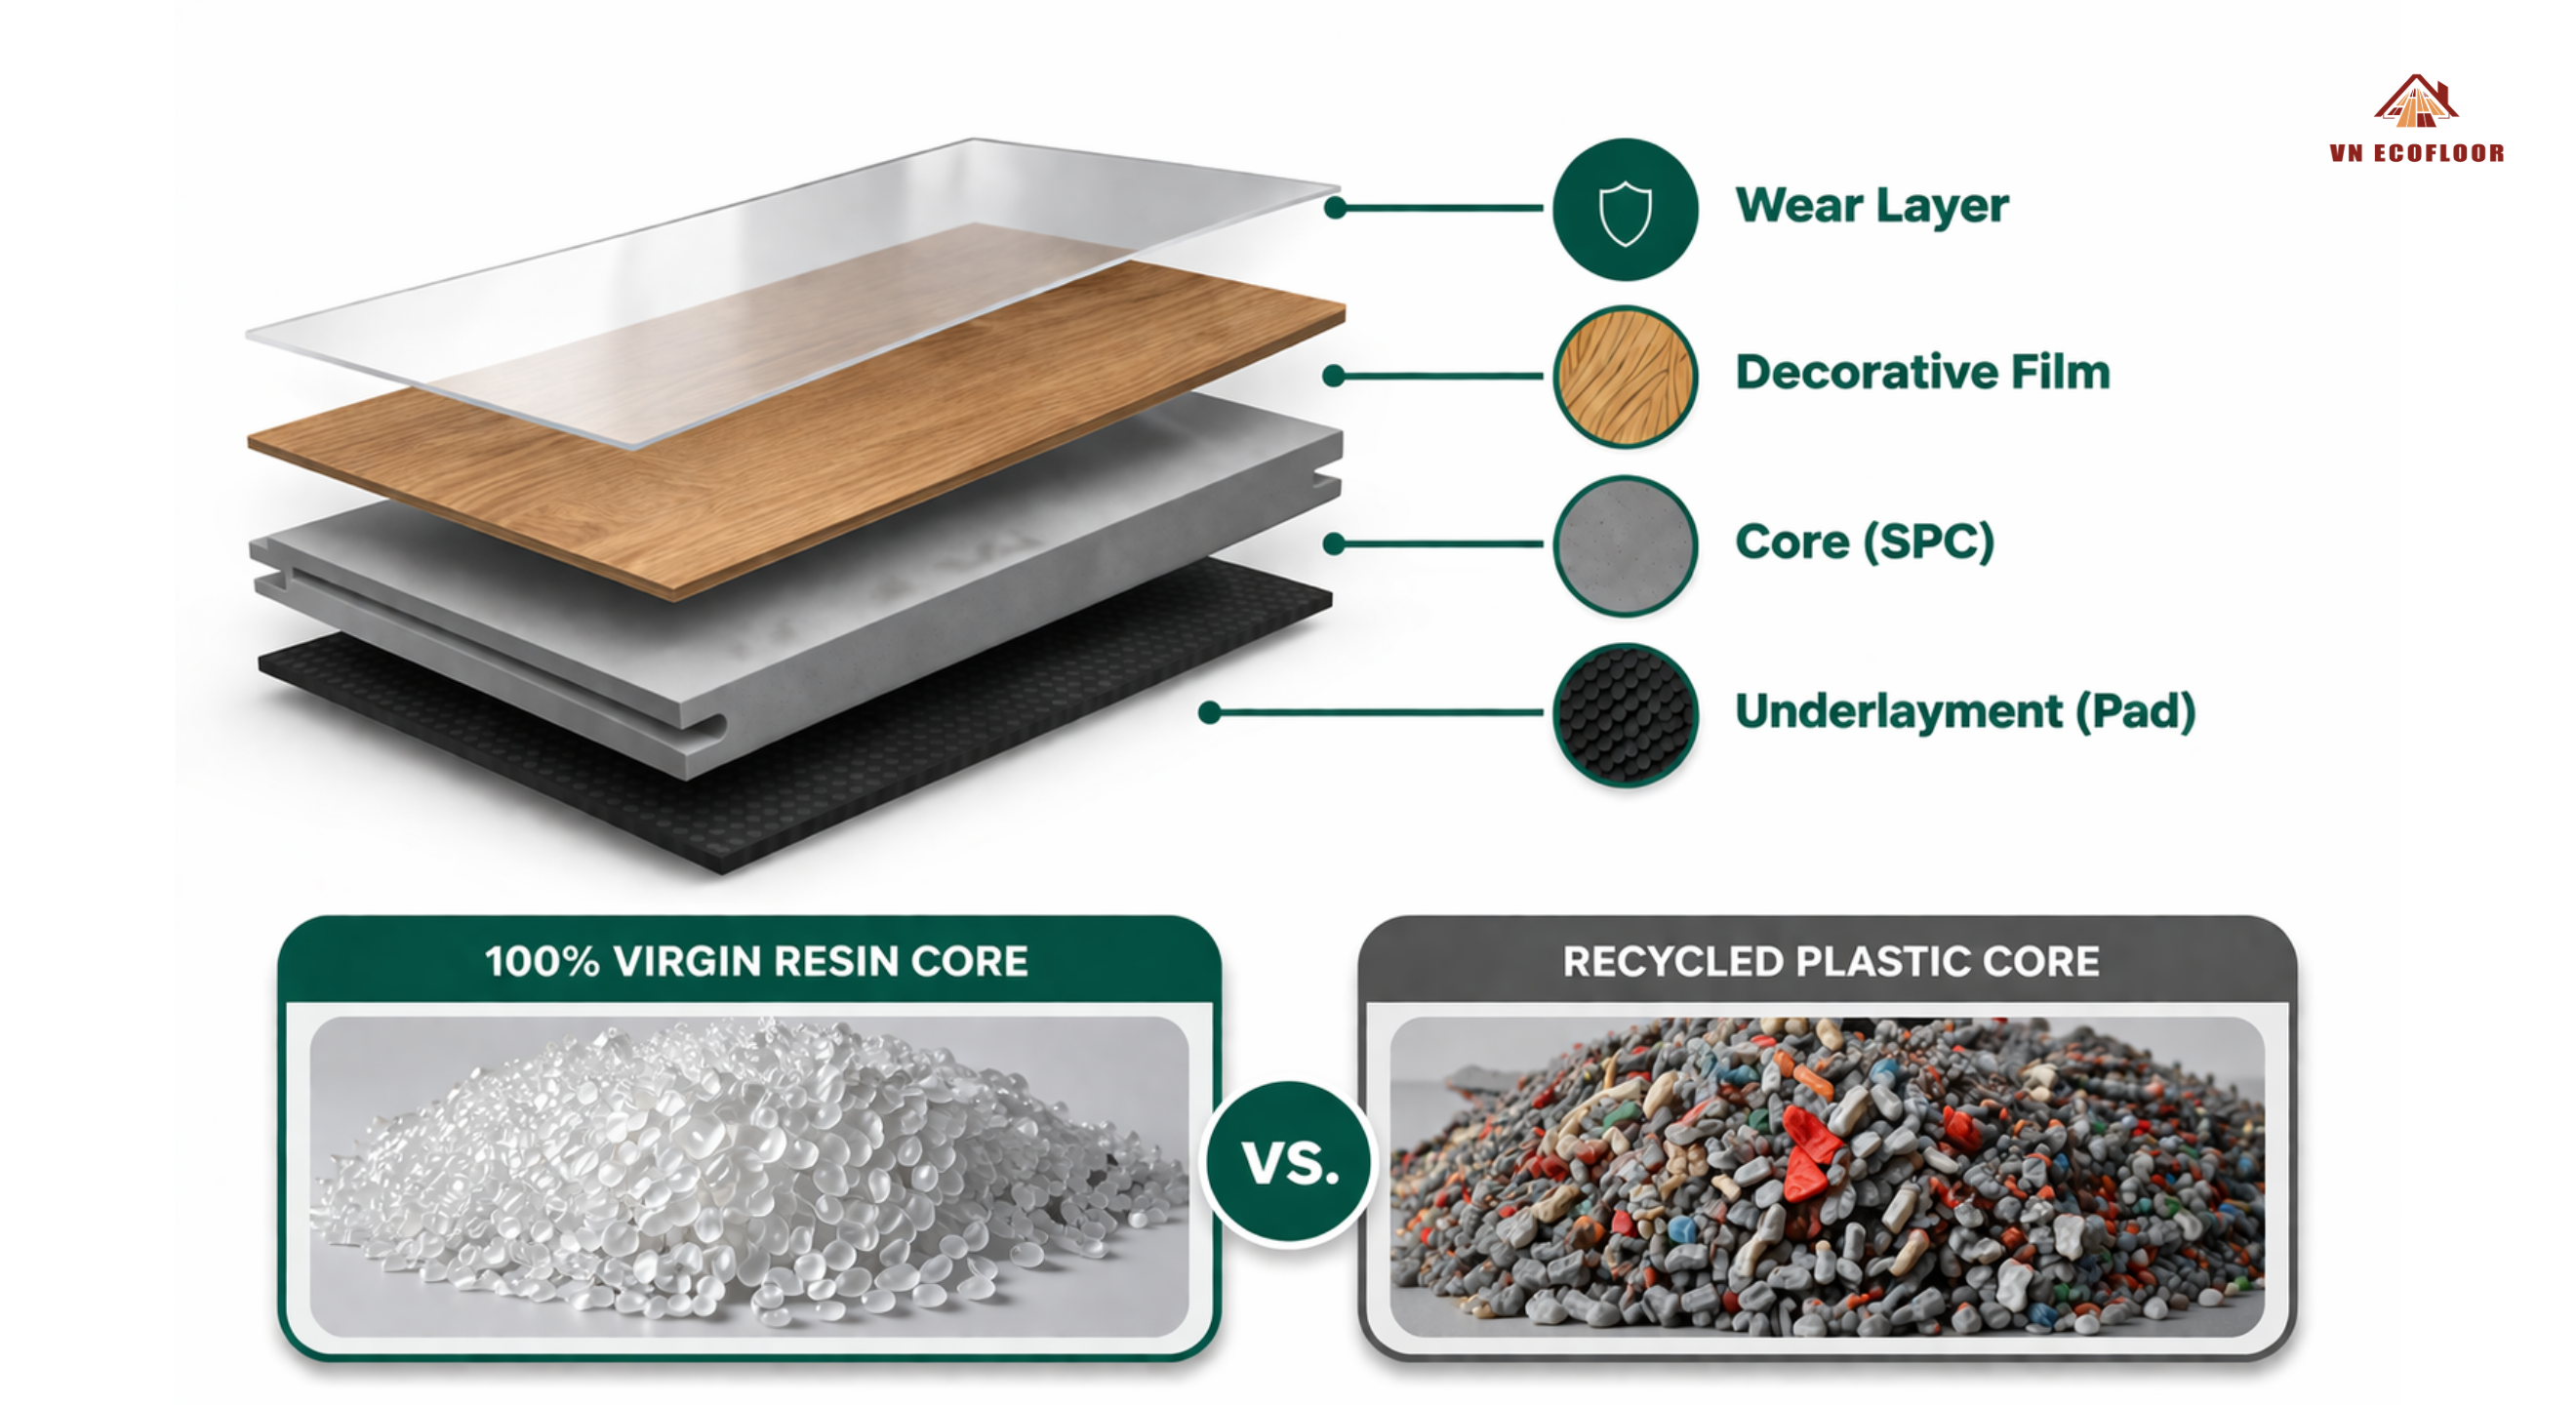
Why it matters: 100% Virgin Resin is offered because it’s pure, stable, and eco-friendly. Recycled plastic often contains “hidden” contaminants that make planks brittle.
The Result: A core that is flexible enough to handle precision milling without snapping, giving your brand a “bulletproof” reputation for quality.
Phase 2: The Extrusion & Heat-Bonding Process
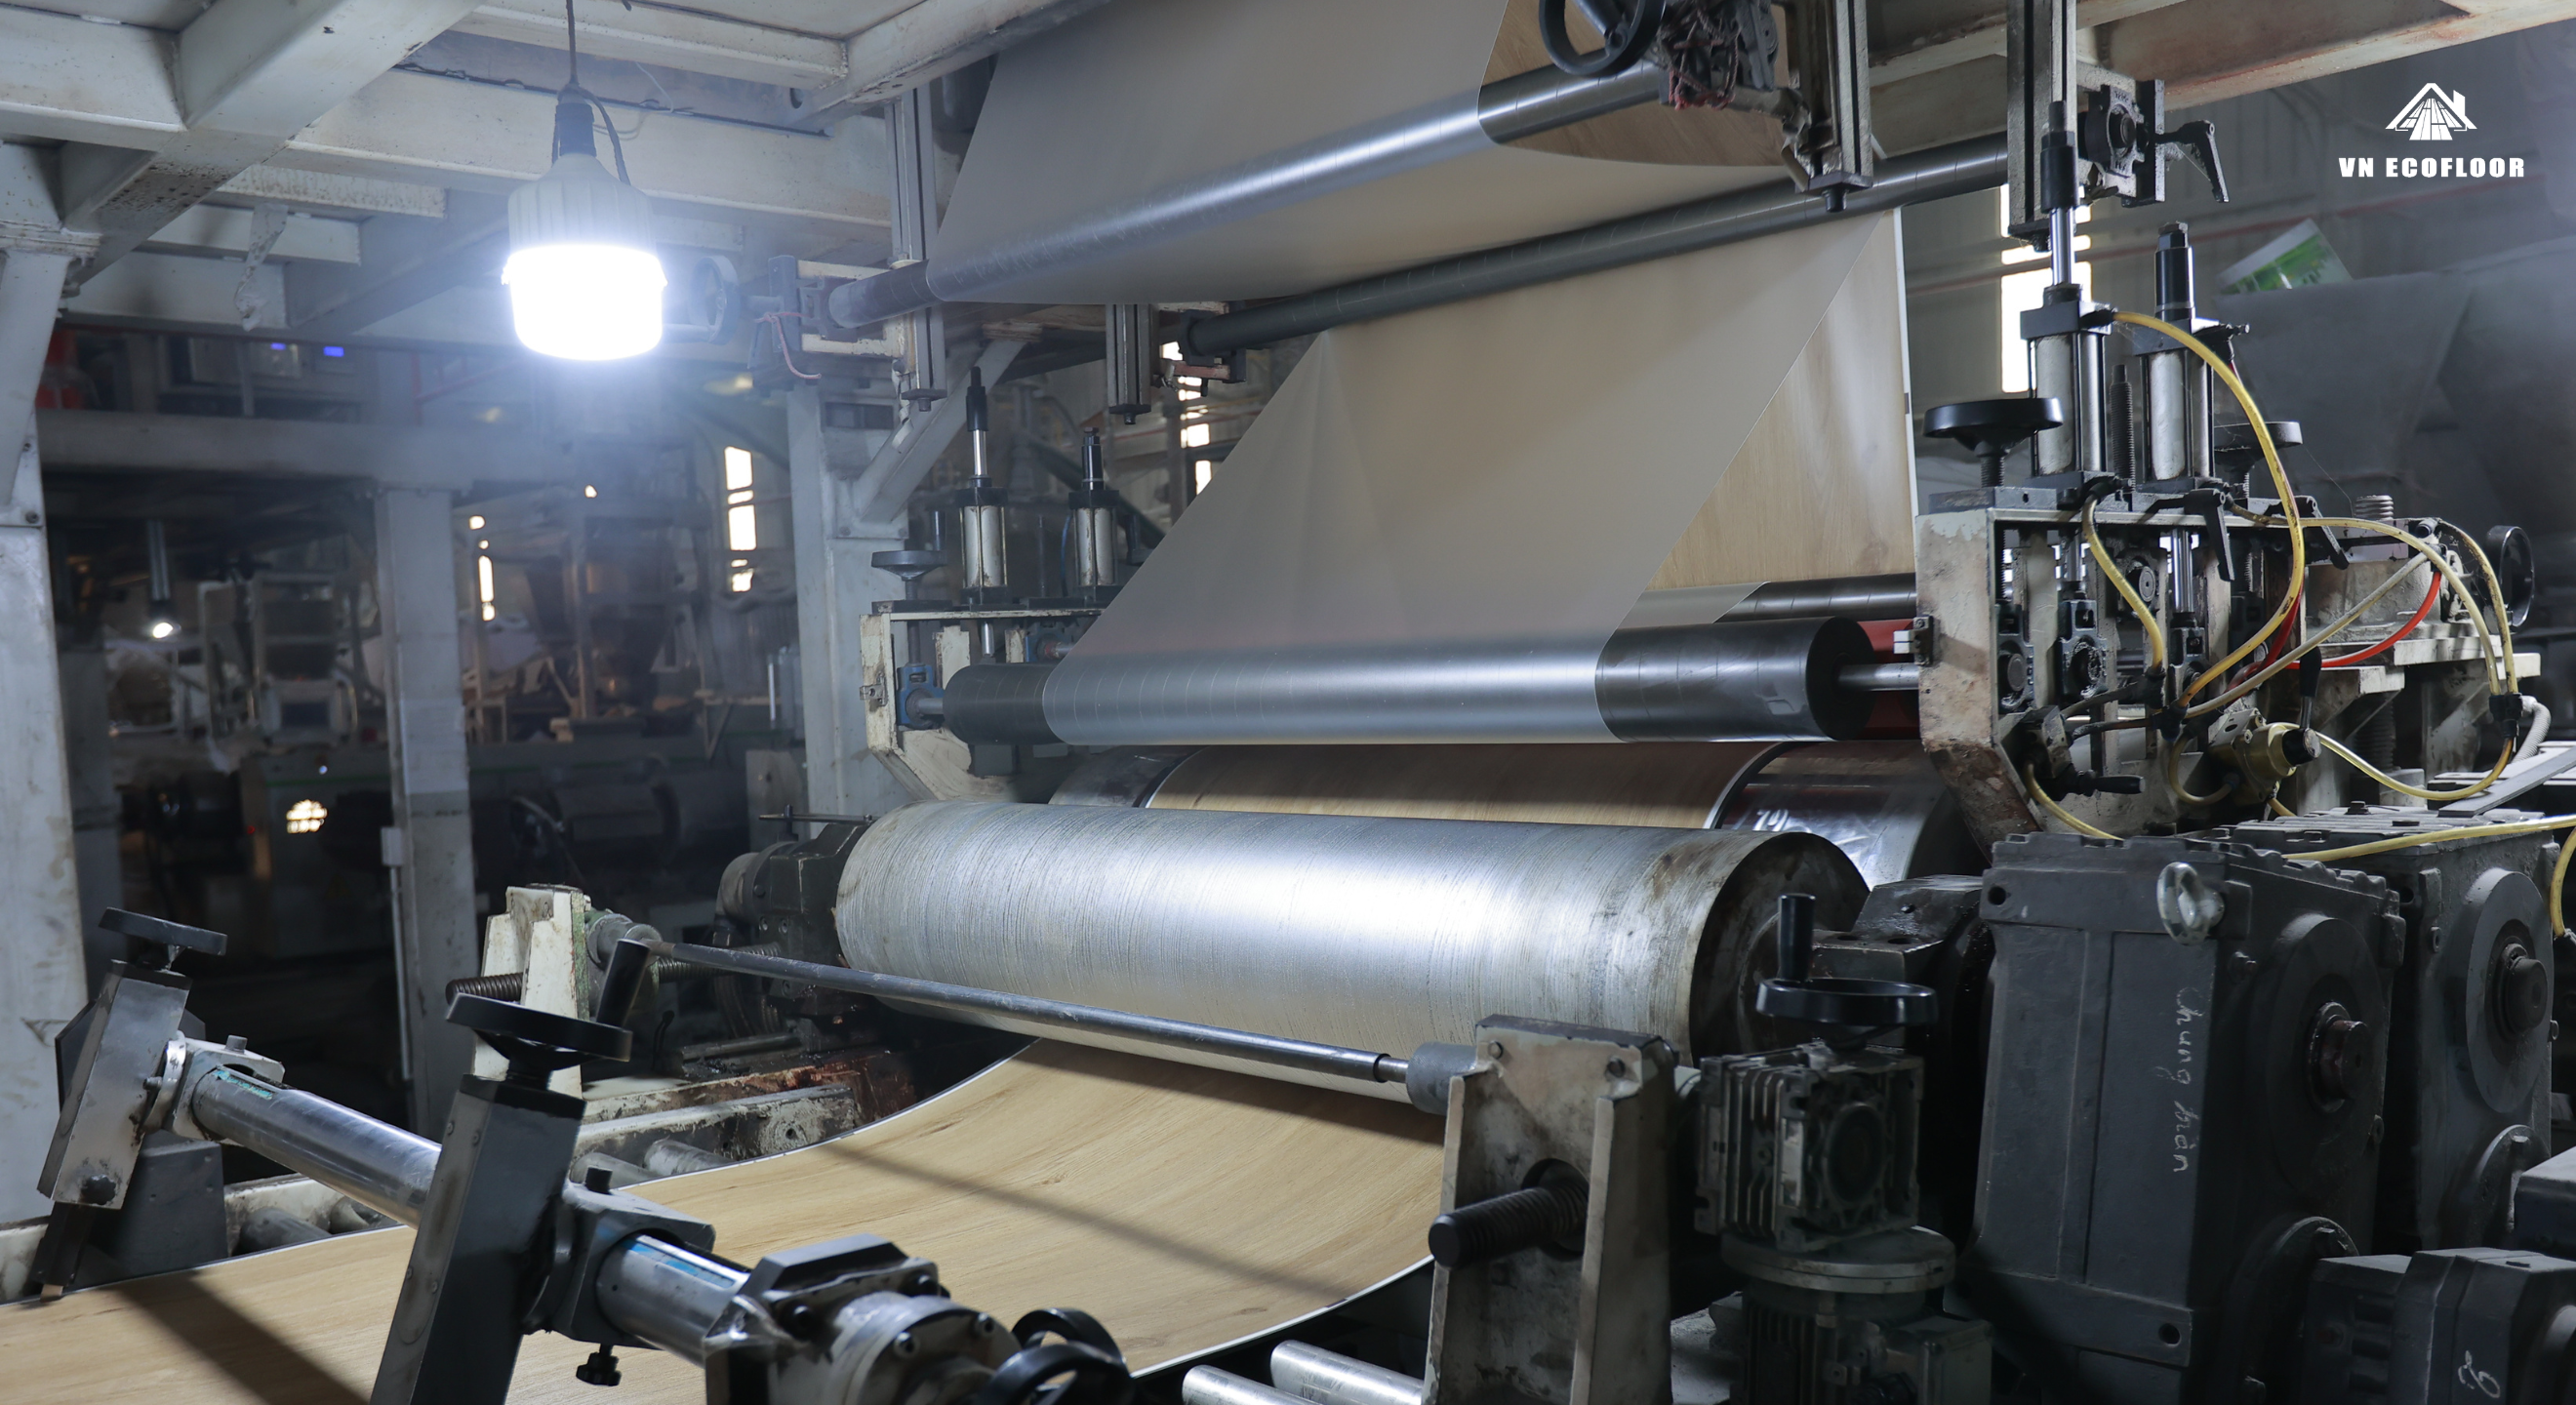
This is where the two products find their identity:
SPC (Stone Plastic Composite): We use high-temperature extrusion. The limestone and resin are fused into a rigid, rock-solid core. While it’s still hot, the decorative film and wear layer are heat-bonded—no glue involved, making it 100% formaldehyde-free.
LVT (Luxury Vinyl Tile): Typically created through a heat-pressing process. It results in a more flexible, thinner plank designed for glue-down installation.
Phase 3: The Secret to Stability (Annealing) – For LVT only
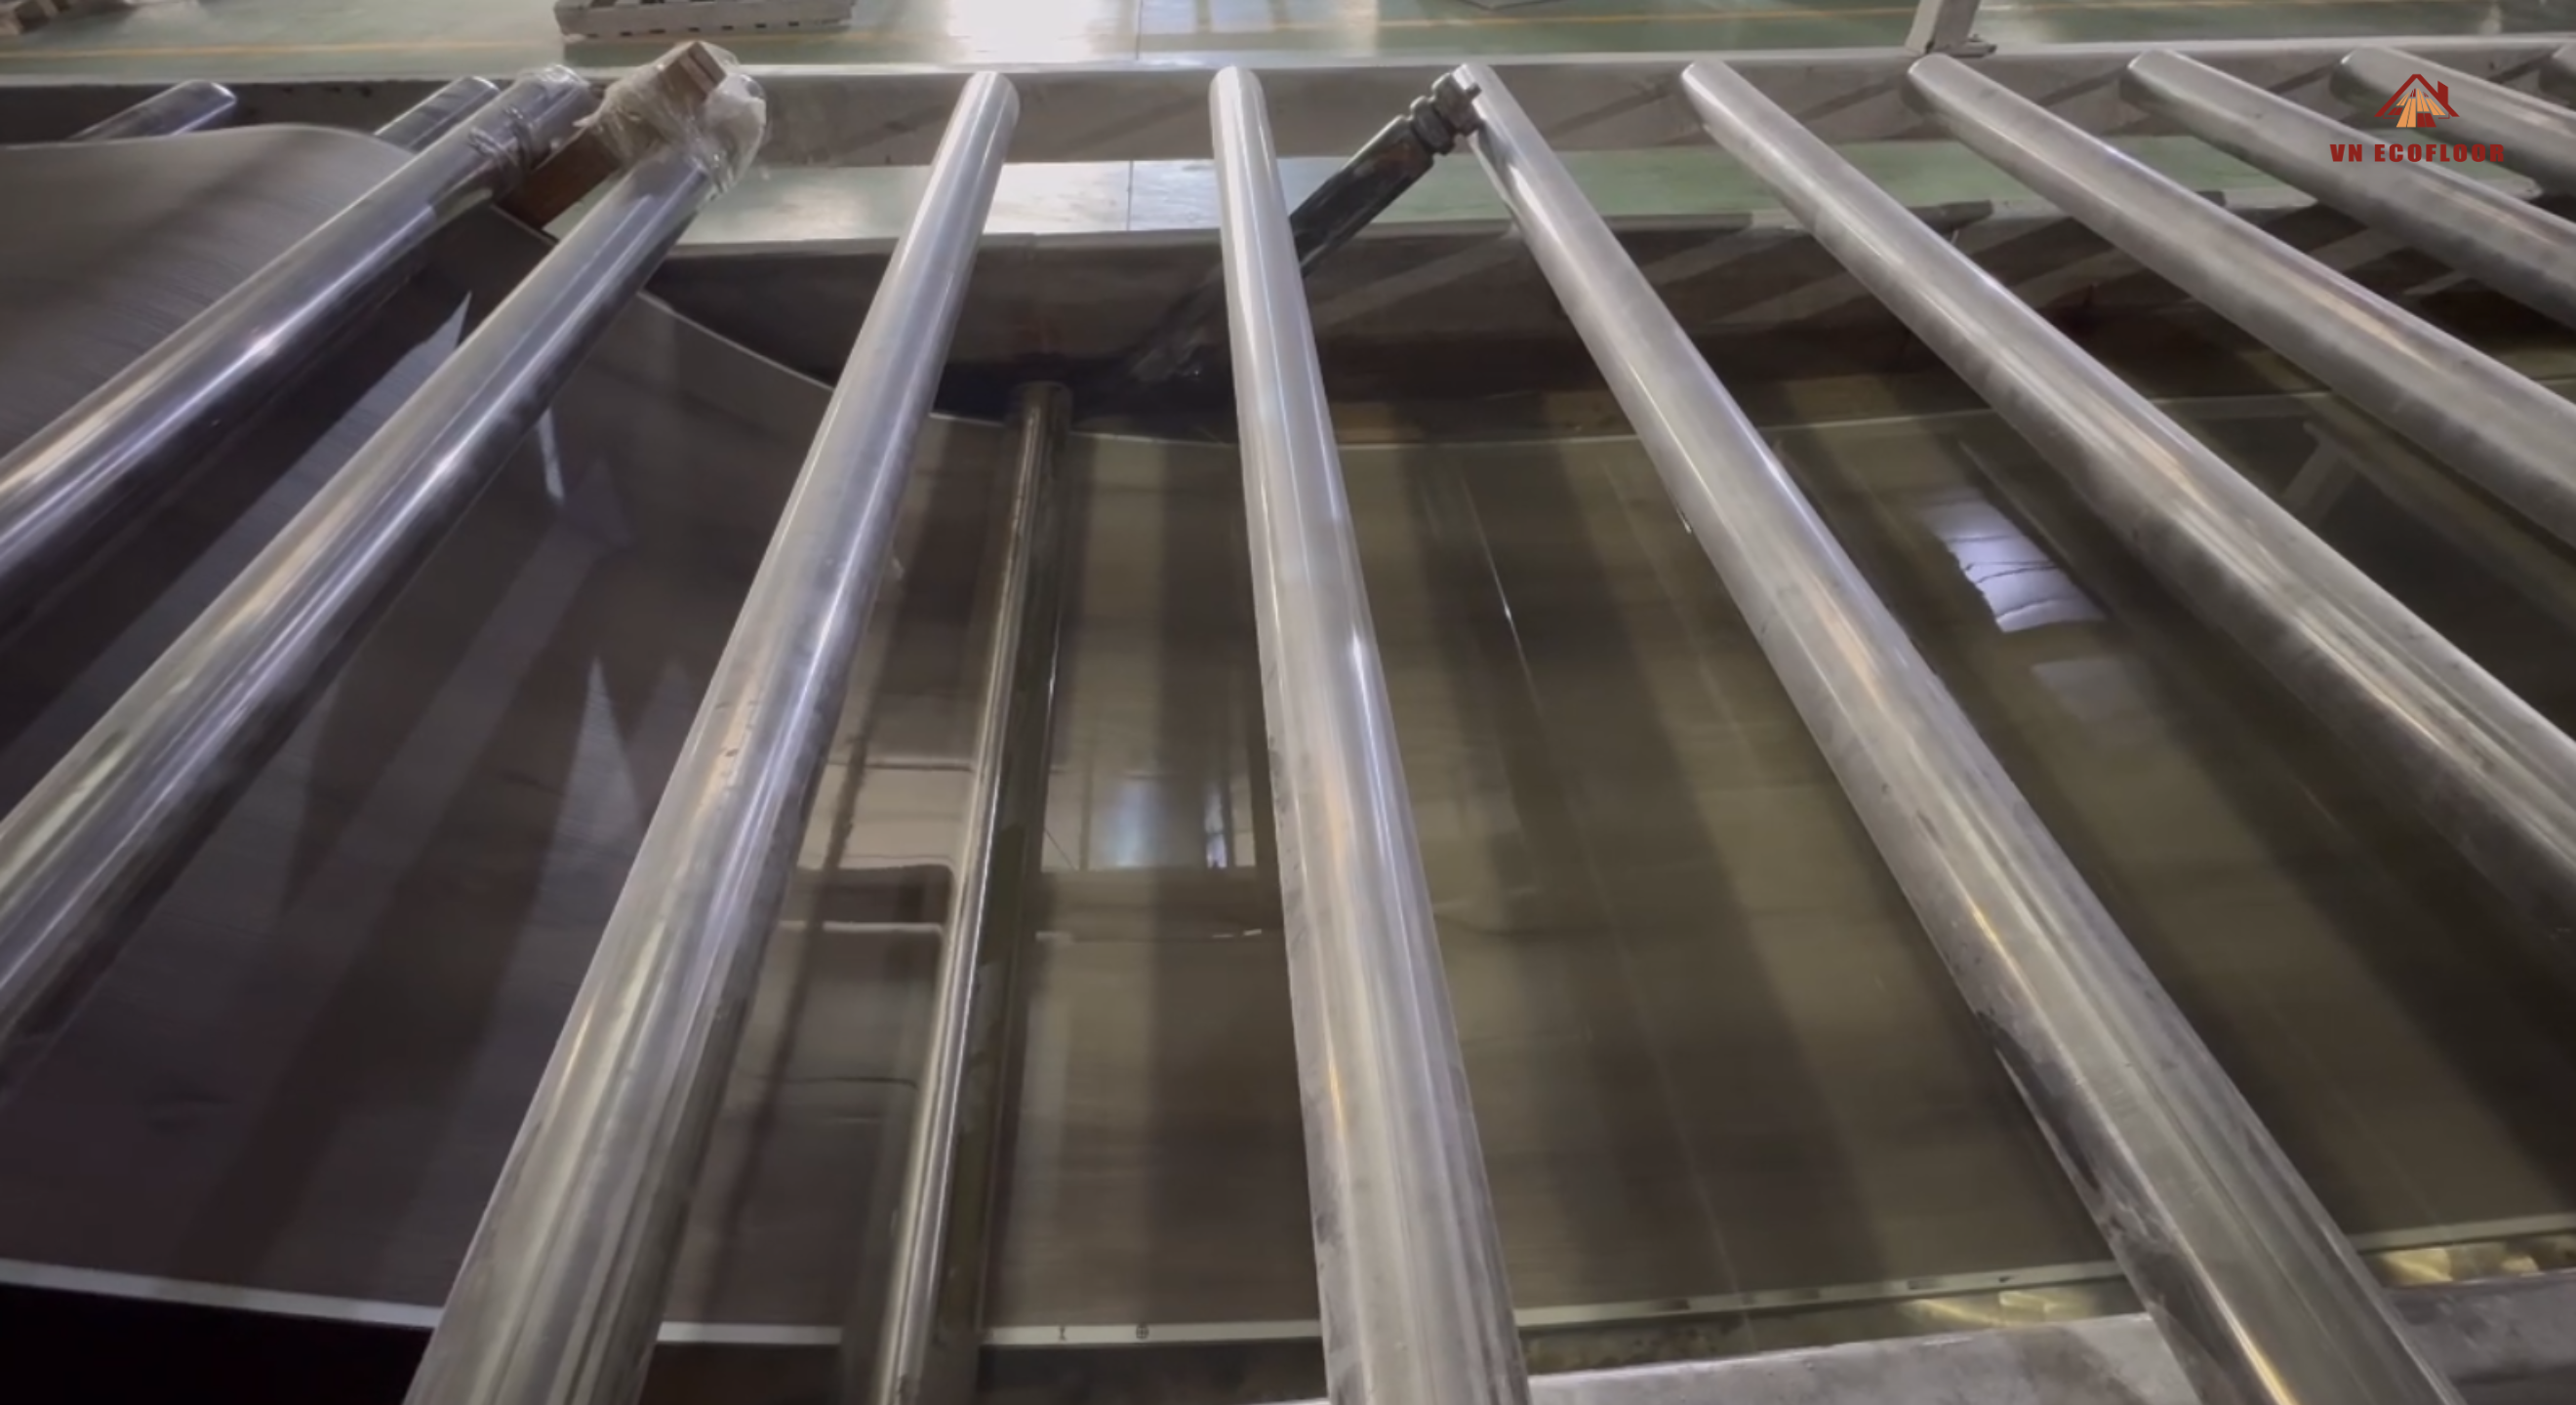
After lamination, the large sheets go through a “cooling cycle” called annealing. Many budget factories skip or rush this step to save time. At VN Ecofloor, we let the material “relax” in water-cooling tanks to neutralize internal stresses. This prevents the floor from buckling or shrinking later when it’s installed in your customer’s home.
Phase 4: UV Coating & Precision Slicing
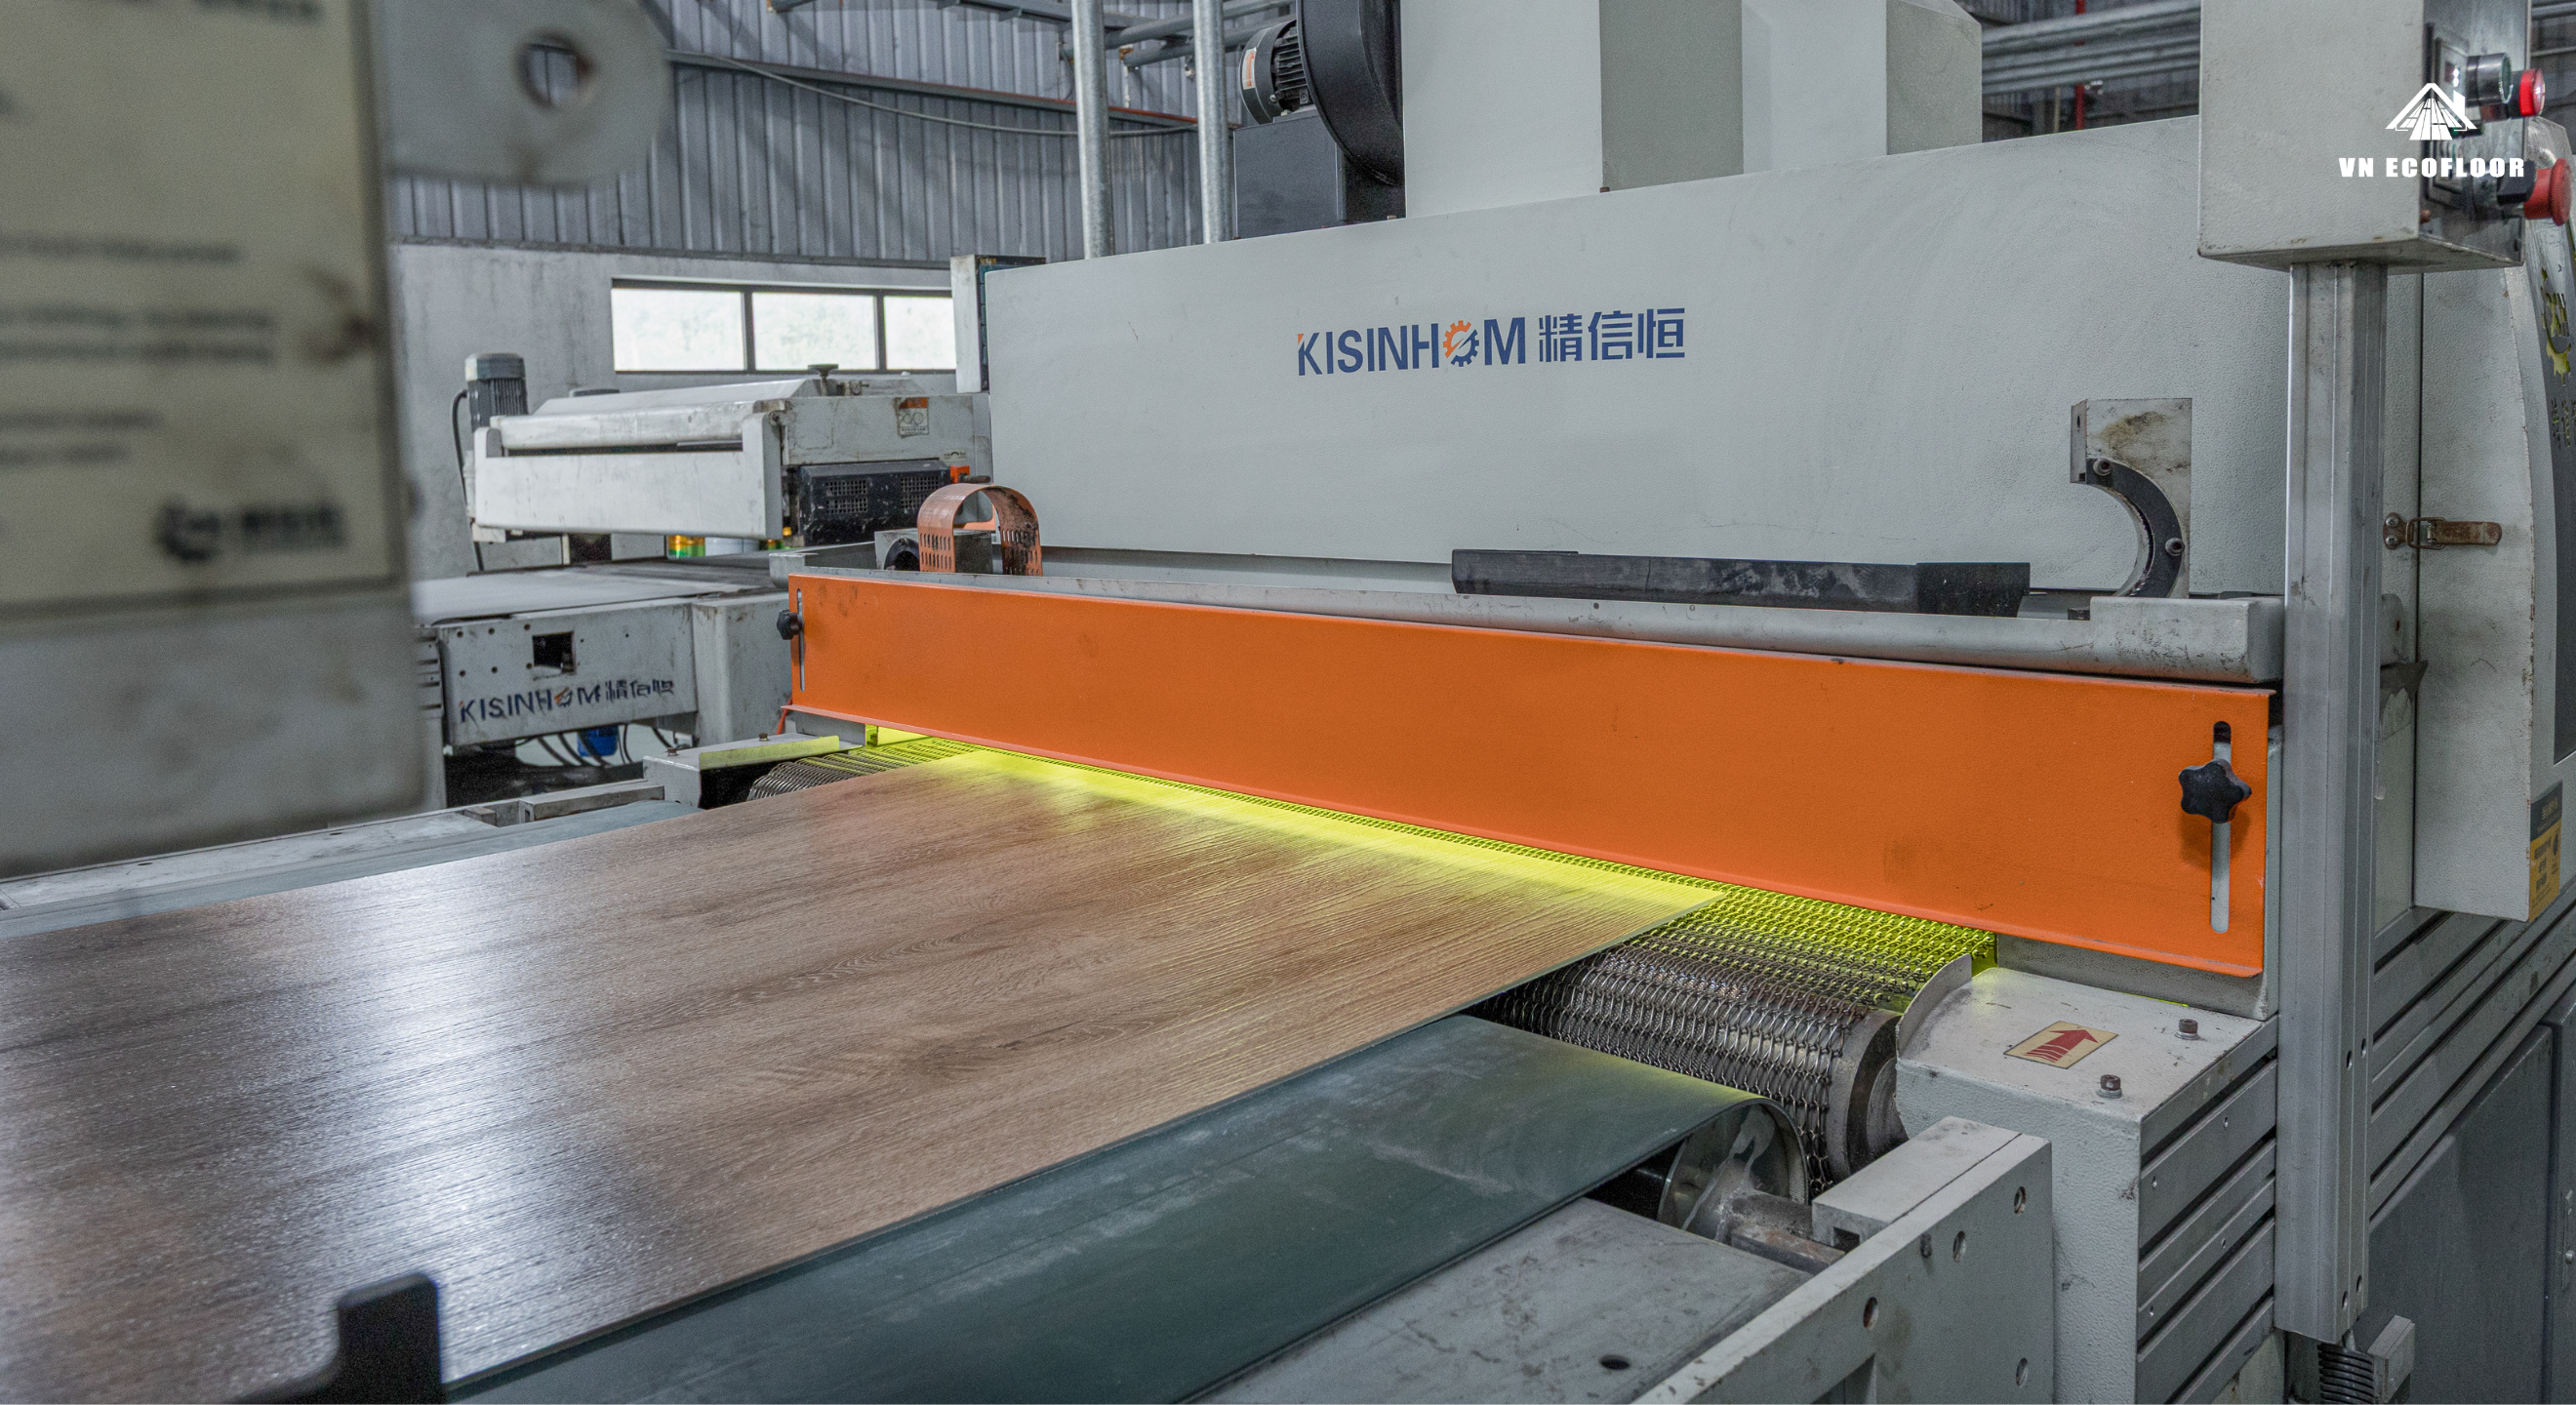
Once the layers are fused into a monolithic “jumbo sheet,” it’s time to add the final armor: the Double UV Armor. These massive sheets pass through a high-tech finishing line to receive a Double UV Coating. Unlike standard single-layer coatings, our two-stage process creates a much denser shield. This acts as a powerful “sunscreen” for the floor, preventing the vibrant wood patterns from fading under direct sunlight. It also creates a nonporous surface that makes the floor incredibly easy to clean—repelling stains from wine, coffee, or pets.
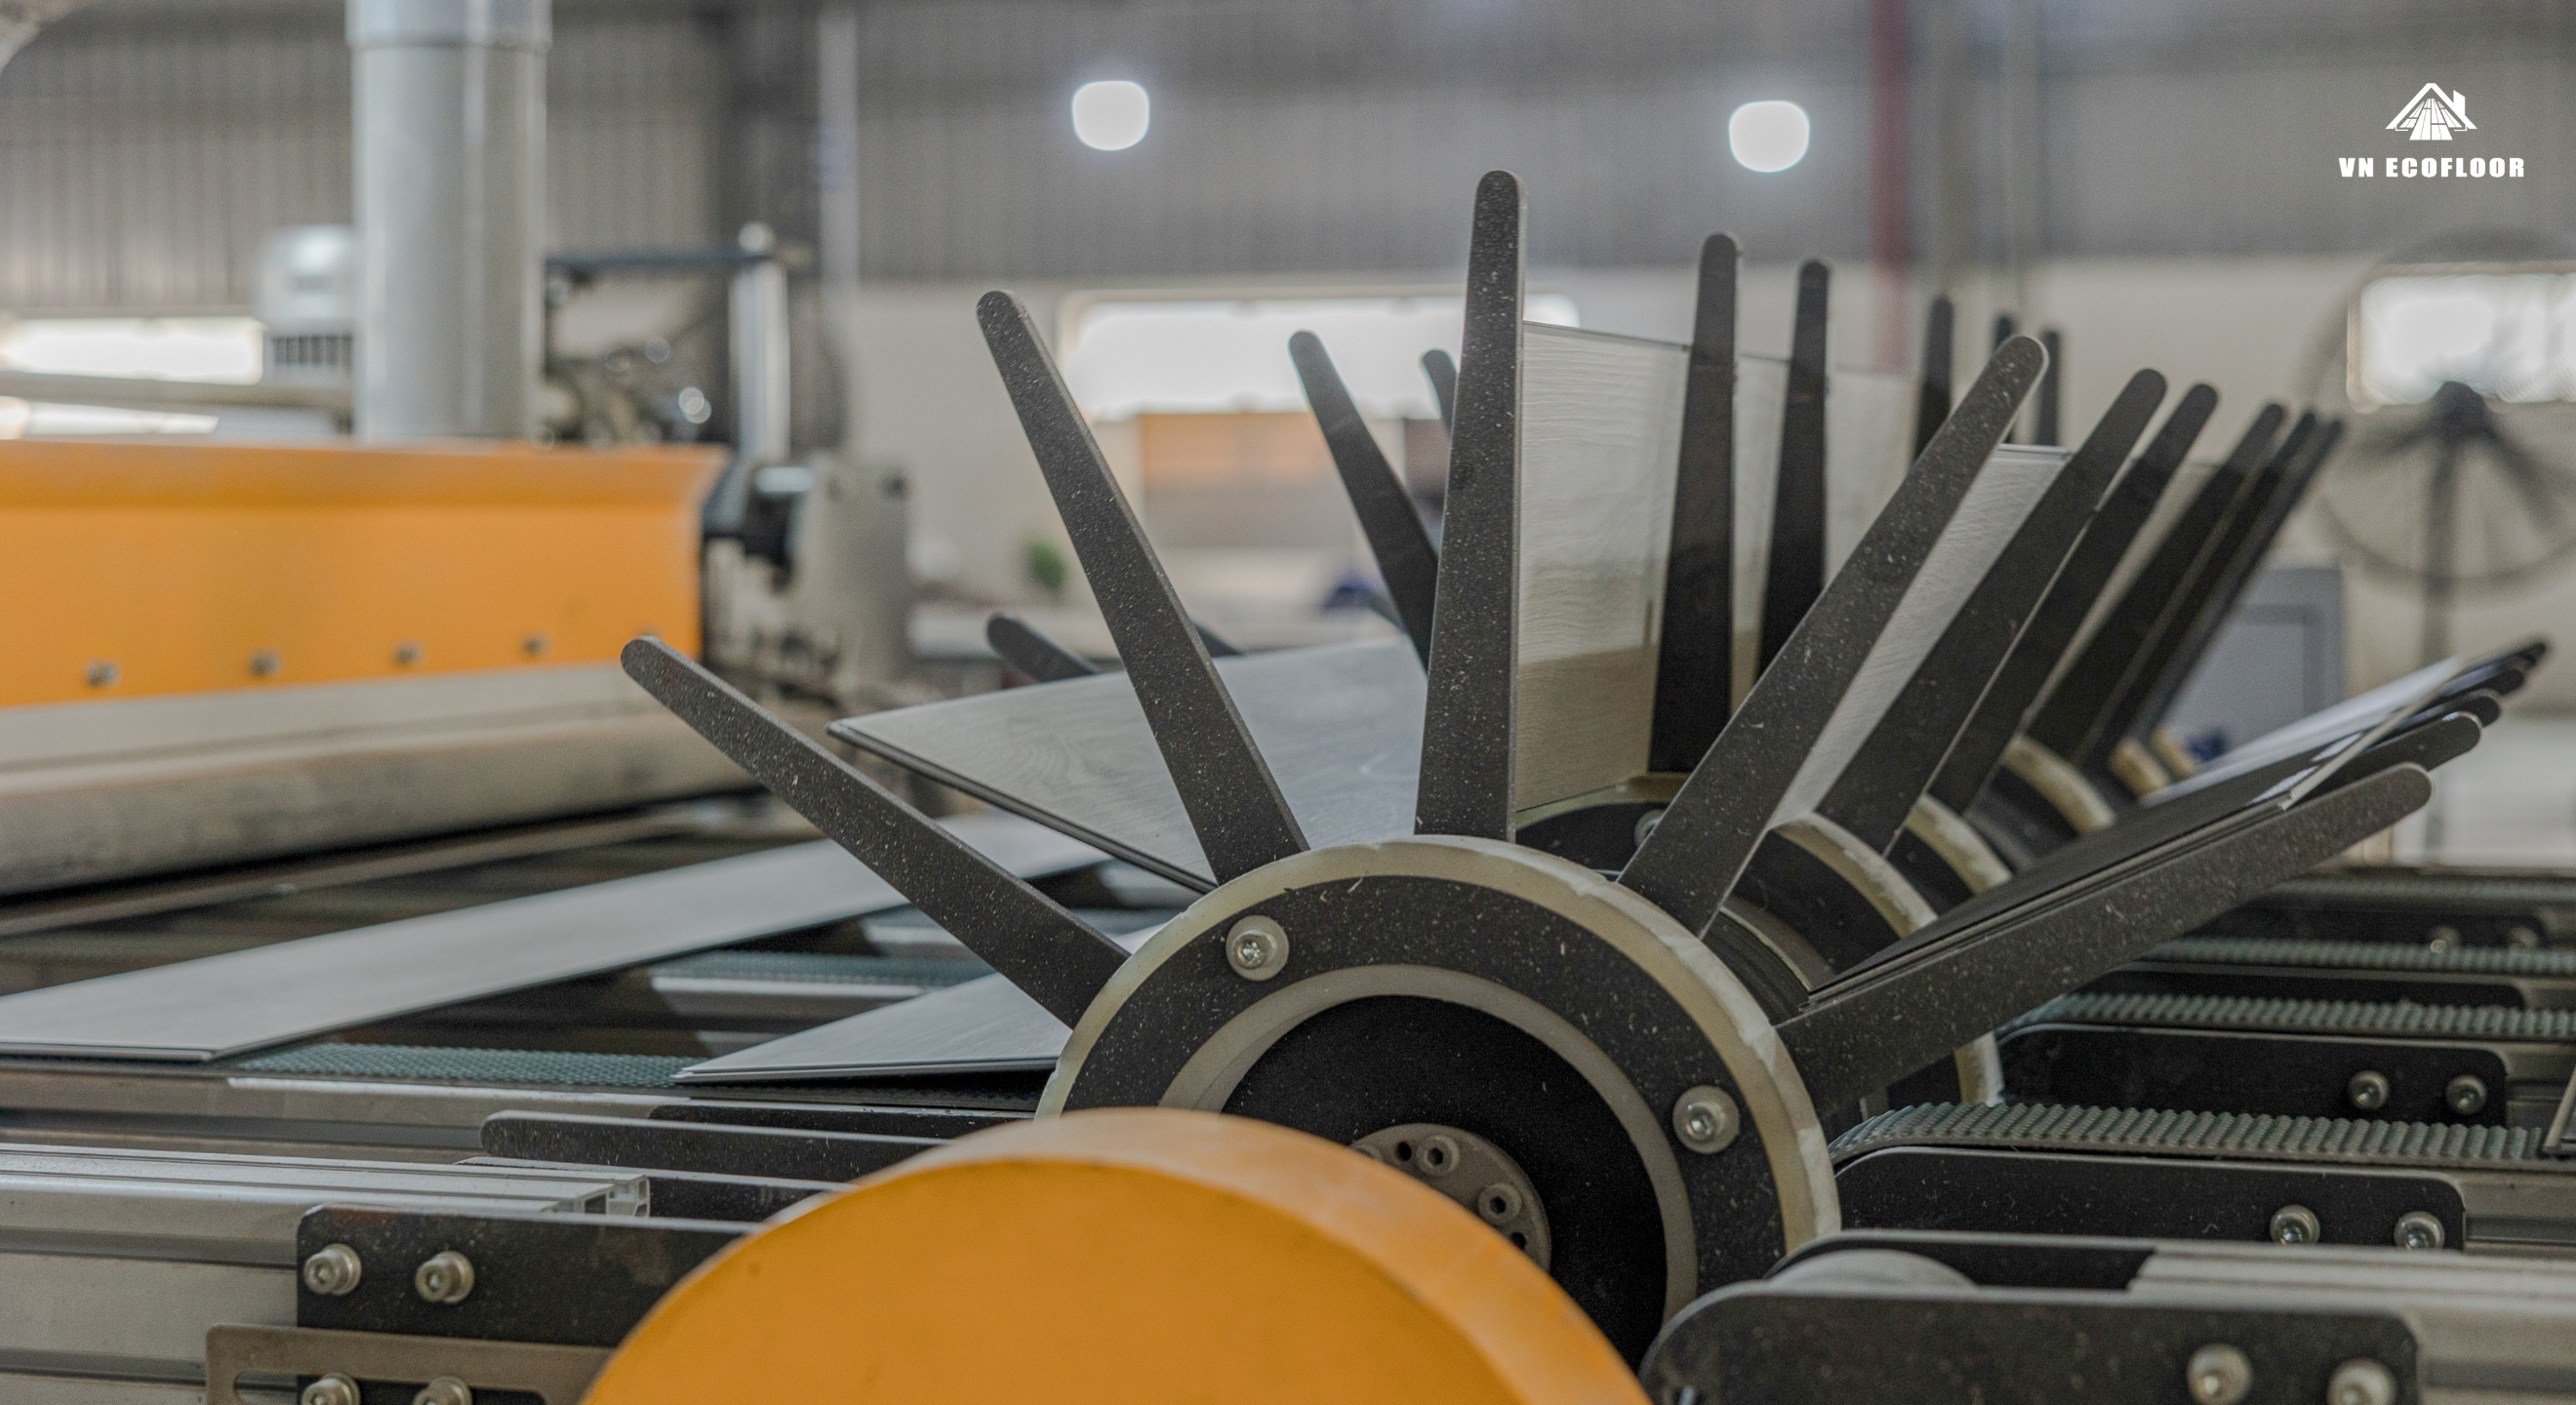
After the UV layers are cured and hardened, these large sheets are moved to the Precision Slicing Line. Here, automated industrial cutters slice the jumbo sheets into thousands of individual planks with surgical accuracy. By applying the UV coating before cutting, we ensure a perfectly uniform finish across the entire surface of every single plank.
Phase 5: Beveling
Whether it is LVT or SPC, the Beveling process is a strategic design choice rather than just a decorative detail. While it might seem counterintuitive, these subtle V-grooves are what actually make a floor look and feel perfectly “fitted.”
In the real world, no subfloor is 100% flat. On a completely flat-edge floor, even a 0.1mm height difference between planks (lippage) creates a sharp, noticeable ridge. By beveling the edges, we create a visual “buffer zone” that hides these minor inconsistencies. This makes the entire installation appear more seamless, uniform, and professionally “flush.”
Phase 6: Finishing the Planks – The Difference Between LVT and SPC
While both products share the first few steps of the journey, their final engineering is where they truly find their purpose:
For LVT (Glue-down): Once the planks have been sliced and beveled, the process is officially complete. Since LVT is designed to be glued directly to the subfloor, it does not require a click-lock system. These planks are moved straight to final inspection and packaging, ready to provide a sleek, flexible, and permanent flooring solution.
For SPC (Click-lock): The most high-tech stage is just beginning—Milling. Because SPC is a “floating floor” system, it needs precision-engineered “teeth” to lock together without the use of glue.
We use blades to carve the i4F® or Uniclic® profiles into the rigid core. This is done with surgical precision, measured down to mere microns. This step ensures that every plank “snaps” into the next with total accuracy, creating that seamless, “fit” look we discussed earlier.
SPECIALLY: Real-Time Quality Control
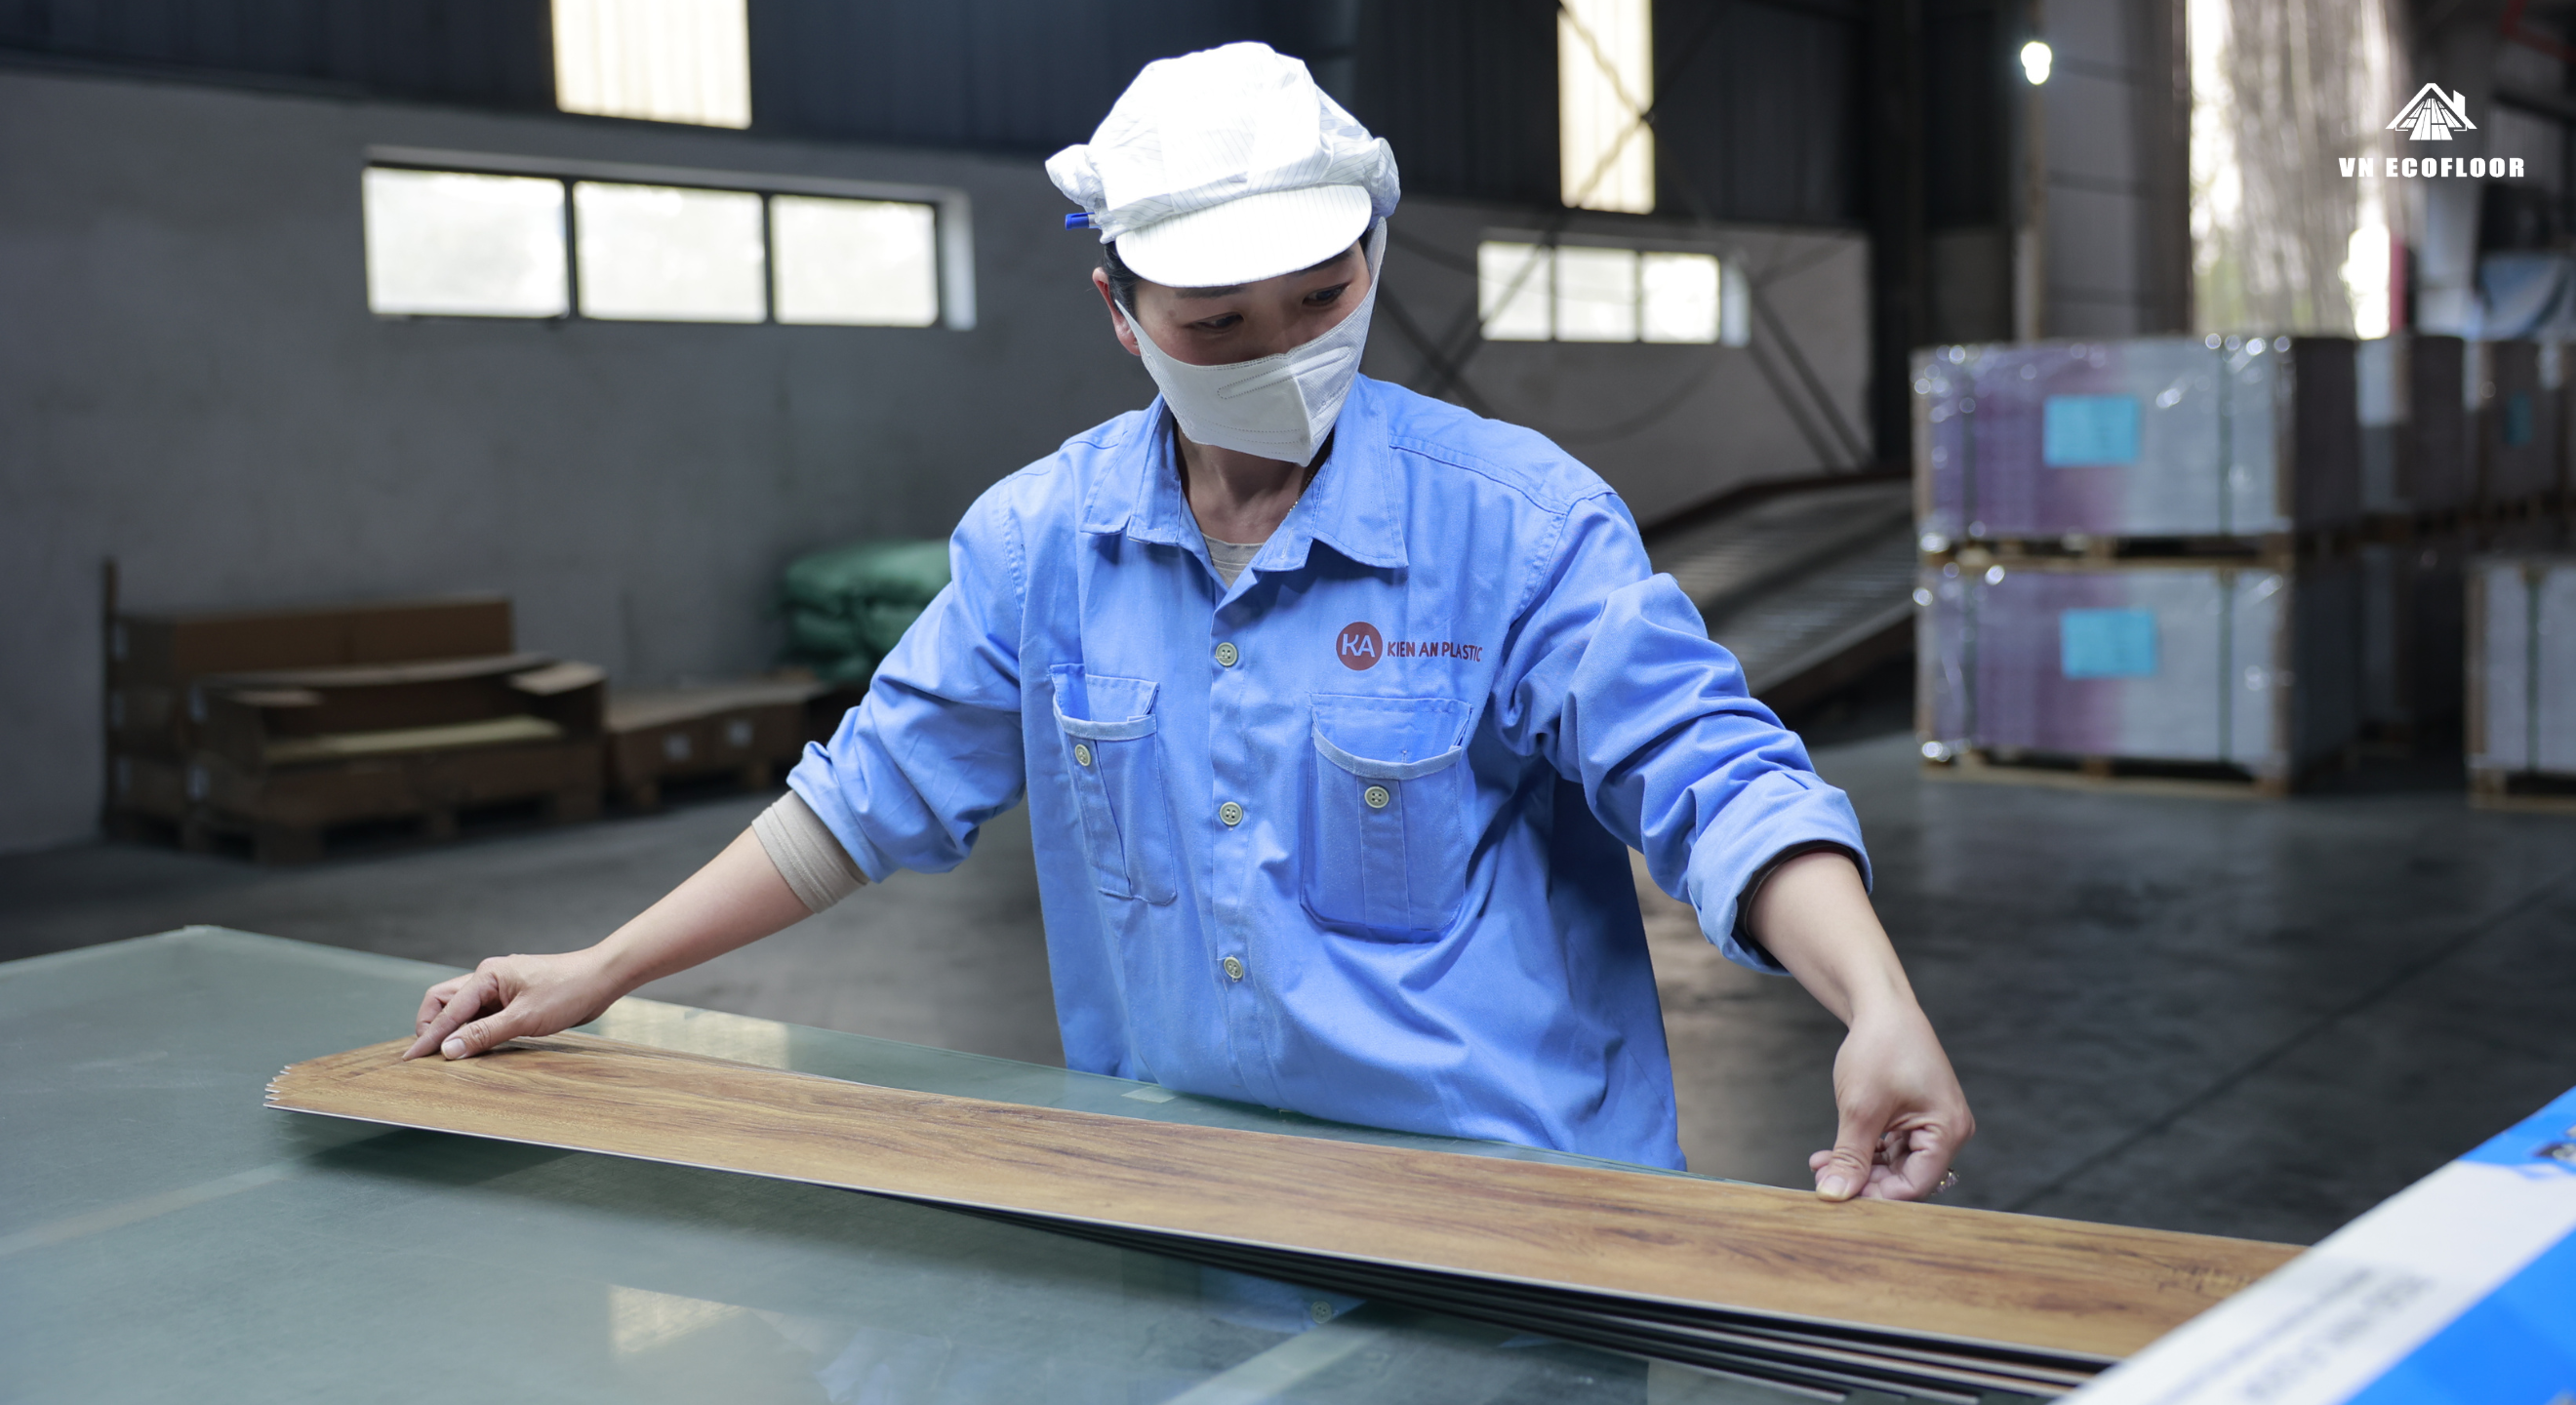
Unlike factories that only test the finished product, our technicians perform rigorous tests simultaneously with each production step. If a batch doesn’t meet our “Gold Standard” at any stage, it doesn’t move forward. Here are some examples to help you visualize:
Right After Extrusion (The Core Strength Test): As soon as the SPC core is extruded, we don’t wait for it to cool before checking its integrity. We immediately pull samples for a Strength & Density Test using the UTM (Universal Testing Machine). This ensures the “backbone” of your floor is rock-solid from the very first minute.
In another case, once the UV lamps cure the protective shield, we put it to the test. We perform an instant scratch resistance test using Scratch & Abrasion Testing Machine. This ensures the “sunscreen” we applied is fully functional before the sheets are even beveling or milling.
During the Milling Process: For our SPC click-lock products, precision is everything. As the click system is being milled, we perform a Castor Chair Roller Test. This simulates years of heavy office chairs rolling over the joints. If the “teeth” show even a micron of movement or weakness, we recalibrate the blades immediately.
Constant Dimensional Checks: Throughout the process, we use high-precision sensors to monitor dimensional stability. We bake samples in our Heating Blast Ovens to ensure that when your customer installs the floor, it won’t shrink or expand, regardless of the climate.
And numerous other tests are conducted in parallel with each stage of the flooring production process to deliver the highest-quality products to each partner.
Phase 6: Automated Packaging & Custom Branding
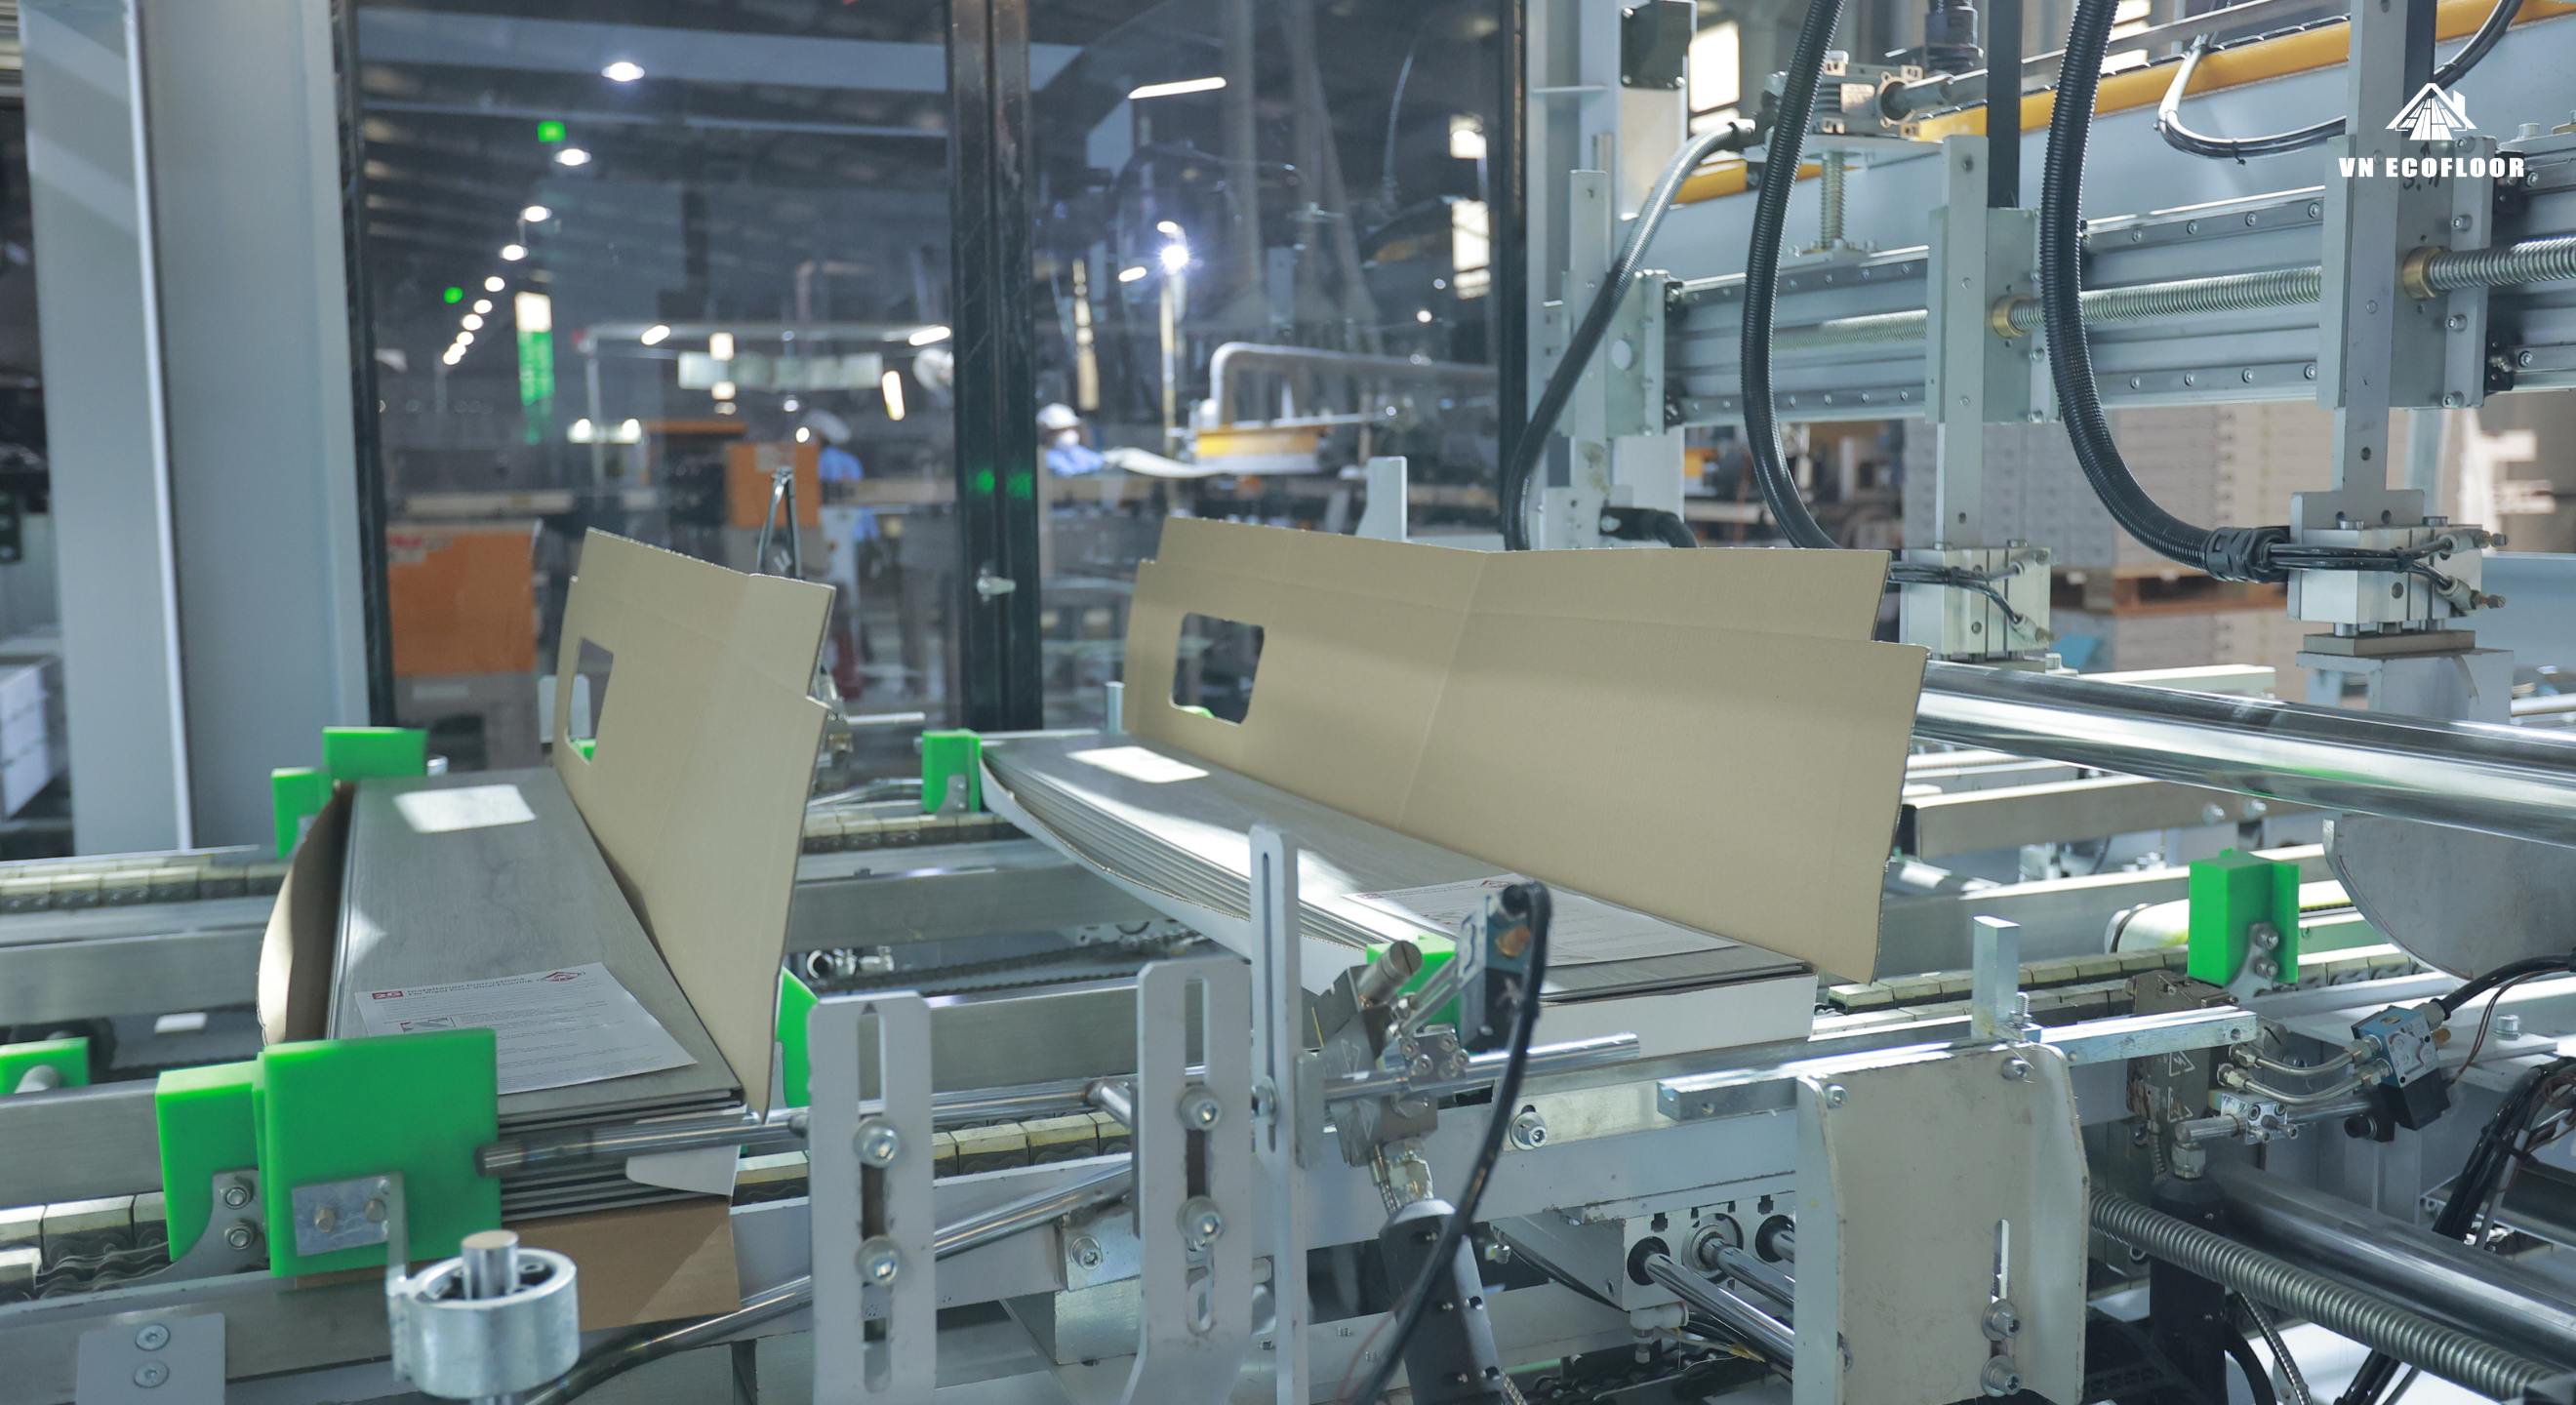
Once the planks pass the final gauntlet, they enter our automated packaging line.
This is where your brand comes to life. OEM flooring factories provide full customization for the boxes—your logo, your brand colors, specific technical data, and multi-language instructions. Whether it’s retail-ready packaging or wholesale bundles, we pack it to your exact specifications.
Why Partner with VN Ecofloor?
Building a brand is about trust. By choosing VN Ecofloor, you gain a partner that prioritizes technical stability over marketing hype:
- Nearly 10 Years of Export Excellence: We have nearly a decade of experience producing and exporting to the world’s most demanding markets (US, EU, Australia). We’ve navigated the regulations so you don’t have to.
- Meticulous Material Selection: Our commitment to 100% Virgin Resin means zero warranty nightmares for you.
- Advanced Infrastructure: From high-speed extrusion to world-class laboratory equipment, our factory is built for precision.
- Full OEM Flooring Support: We handle everything from the core to the custom-branded box, allowing you to focus entirely on sales and marketing.
👉 Ready to launch your own flooring brand?
[CONNECT WITH VN ECOFLOOR] today to request a Sample Book and see what a decade of manufacturing excellence looks like.
Hotline: +84 88 801 81 28
Website: vnecofloor.com
FAQs
- What is OEM flooring and how does it work?
Think of OEM as the “springboard” for your brand. It allows you to launch your own flooring line without the massive headache of investing millions in a factory. You focus on what you do best—branding and sales—while we handle everything from sourcing raw materials to production and custom packaging under your name. It’s the fastest way to get your product to market with professional-grade quality.
- Why is virgin resin such a big deal?
Think of virgin resin as “pure ingredients.” Unlike recycled plastic, which often contains hidden impurities and mixed polymers, virgin resin is clean, stable, and incredibly durable. This is your insurance policy against “warranty nightmares” like brittle planks or floors that warp over time. A long-lasting brand needs a pure, solid foundation.
- What’s the real difference between making SPC and LVT?
It really comes down to their “personalities.” SPC is created through high-heat extrusion, resulting in a rock-solid, rigid core—perfect for that high-performance click-lock feel. LVT, on the other hand, is made using heat-pressing to keep it flexible and thin, specifically designed for traditional glue-down installations.
- Is the annealing process actually necessary for LVT?
Absolutely. After production, LVT planks often carry “internal stress” from the heat and pressure. The annealing process is like a “relaxation therapy” for the material—it allows the vinyl to settle and stabilize. Skipping this step is exactly why some floors shrink or buckle shortly after they are installed.
- What does UV coating do for the floor’s performance?
You can think of UV coating as a high-end “sunscreen” for your floor. It doesn’t just stop the colors from fading under direct sunlight; it creates an invisible shield that repels scratches and stains. Because it makes the surface non-porous, it means your customers spend less time cleaning and more time enjoying their space.